How to set up a Trezor Model T hardware wallet with Trezor Suite
Keep your funds secure with a Trezor hardware wallet and up your DeFi game.
 Sponsored by Easy Crypto Australia. Securely buy, sell, and exchange over 100+ cryptocurrencies in Australia at competitive rates. Instant buy & sell, multi-coin orders, auto buys plus OTC and SMSF support.
If you're using a web wallet like MetaMask or Trust Wallet for DeFi or even to just store some of your crypto assets, then you might want to consider adding an extra layer of security with a compatible hardware wallet, such as a Trezor.
Hardware wallets also partner well with exchanges that facilitate purchases directly to wallet addresses. For example, Easy Crypto uses a wallet address book feature to send crypto purchases to wallet addresses in as little as 2 minutes.
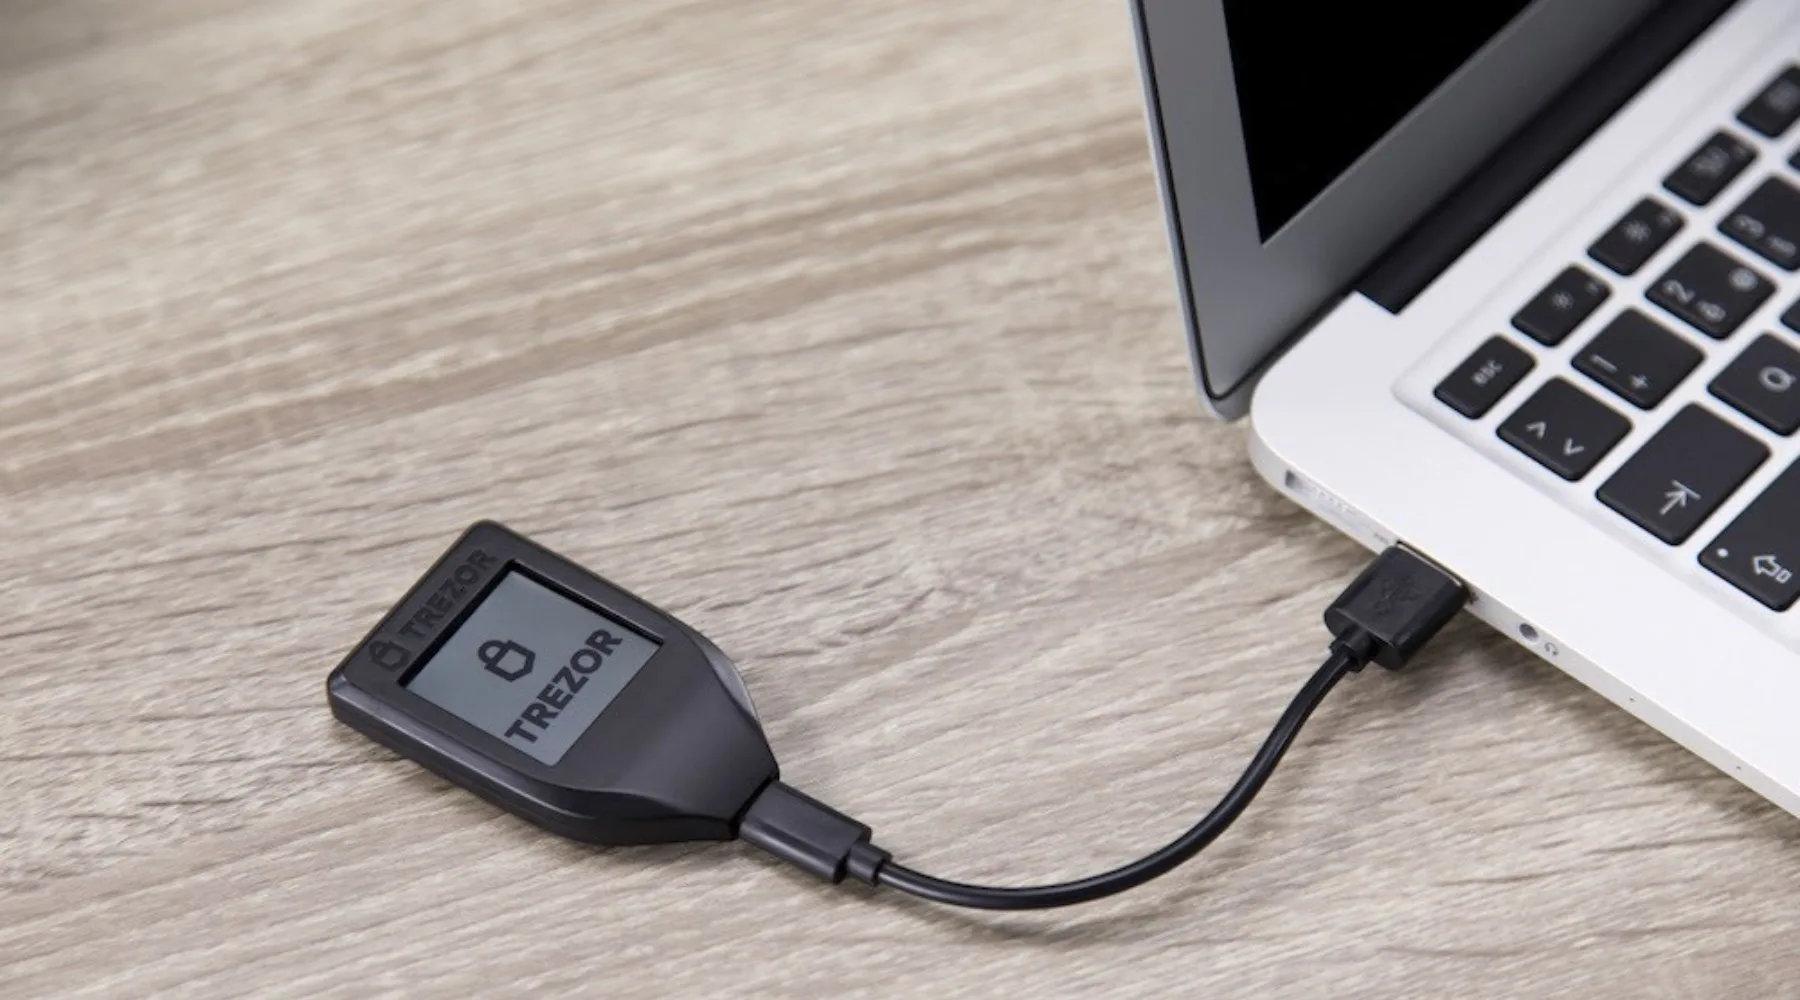
Trezor produces some of the most popular hardware wallets on the market, including the flagship Model T (pictured above). It connects to your PC via USB and features a touch screen, various backup and redundancy features, as well as native support for the Trezor Suite software that brings together a wide range of features, coins and tokens into a single user interface.
Setting up a brand-new hardware wallet can be tricky though, so we've put together a step-by-step guide to show you how to get started safely and get the most out of your latest investment.
How to set up a Trezor Model T wallet
The Trezor Model T can be connected via a USB to either a computer or an Android mobile device. For this walk-through, we'll be focusing on setting up the Model T with a computer.
Step 1. Connect via USB. The first step of the set-up is to connect your new Trezor Model T to a computer via the USB cable.
Step 2. Trezor Suite. Once connected, your Model T device should prompt you to search for the Trezor Suite website on your computer. Head over to the official Trezor Suite website and download the latest version of the Trezor Suite software – either for Windows, macOS or Linux.
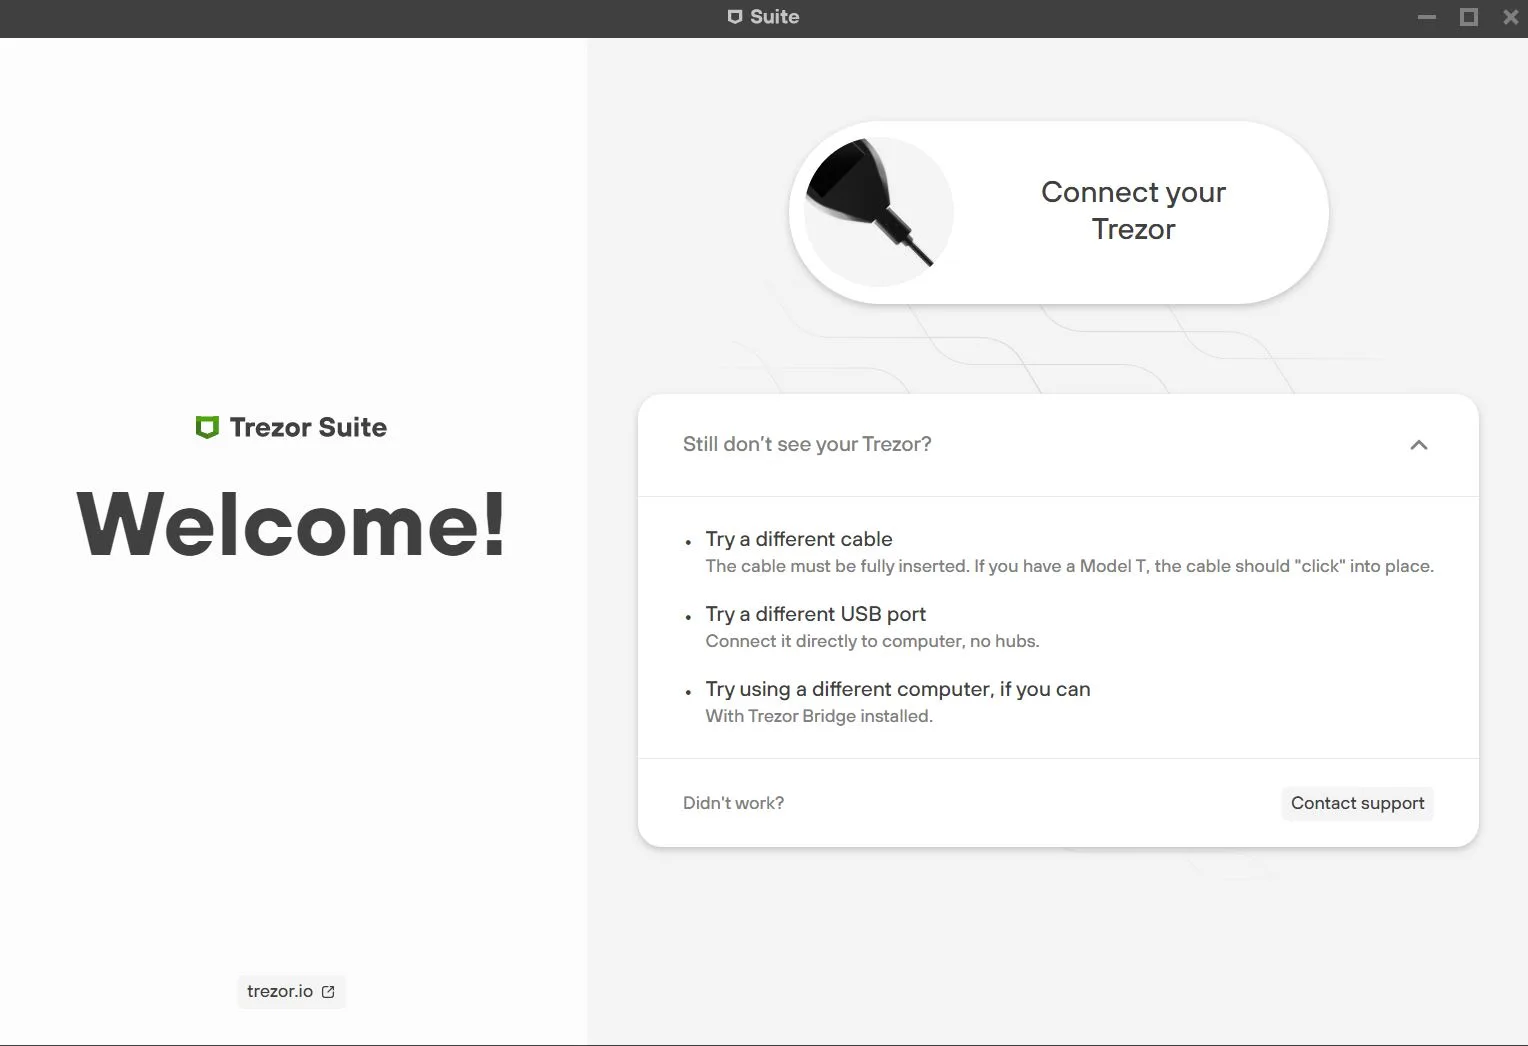
Step 3. Security check. The Trezor Suite will automatically open once installed. The first page will highlight a list of security checks.
Click "Set up Trezor" once ready.
Step 4. Firmware installation. On the next page, you will be prompted to install the latest Trezor firmware. All Trezor devices are shipped without firmware so that the latest firmware can be installed upon set-up. Click "Install Firmware".
Step 5. Create a new wallet. After the latest firmware has been installed, the next page will show the option to either "Create a new wallet" or "Recover" an old wallet. For new users, click "Create a new wallet".
Step 6. Recovery seed backup. The next step requires you to set up a recovery seed backup. Trezor Suite offers 2 ways to create a backup of your Model T device: a standard seed backup or a 'Shamir share' backup. The Shamir share backup is slightly more complicated and will not be a step covered in this guide. Standard seed backup is more than suitable. Click "Standard seed backup" to proceed. The action will then need to be confirmed on your Trezor Model T screen.
After clicking through a couple of prompts, a list of 12 words will appear on your Trezor Model T screen. This is your recovery seed and is extremely important. These words need to be written down exactly as shown on your Model T device. Use the templates provided in the Model T box to physically write down the recovery seed. Scroll through the list of words on the Model T screen using your finger. Once written down, click the confirm button at the bottom of the screen.
Step 7. Confirm recovery seed. The next step involves confirming your recovery seed. Your Trezor Model T will randomly select 3 words that you will need to specify. For example, if word 8 is asked for, refer to your written list, see which word corresponds with number 8 and select that word within your Trezor Model T. Repeat this for all requested words.
Step 8. Set PIN. Once your recovery seed has been confirmed, click "Continue" on the Trezor Suite software. The following page will prompt you to create a PIN.
Although not required, it is advisable to set a PIN for your Trezor device because it stops anyone else from physically accessing your device.
Click "Set PIN", then click "Enable" on the Model T screen. Choose between a 4 and 8-digit PIN code. Once entered, click "Continue" on the Trezor Suite software.
Step 9. Choose coins. After creating a PIN, the following page allows you to choose which coins you would like to store on your Model T device.
Bitcoin and Ethereum are selected automatically. Select which other coins you have or are likely to acquire. Once selected, click "Complete Set-up". You can always add more coins later.
Step 10. Access Suite. The next page should now state "Set-up complete!". From here click the "Access Suite" button. The following pop-up will ask what wallet type you would like to create. Click "Standard wallet".
The "Hidden wallet" option would require the creation of a further passphrase. If the Model T wallet was ever lost or broken, this passphrase would be required, in addition to the recovery seed we created earlier.
Step 11. Enable labelling. After confirming the standard wallet type, the following pop-up will indicate that you need to follow instructions on your Trezor screen.
The Trezor Model T will ask whether you would like to enable labelling. This allows you to rename your cryptocurrency accounts within your wallet. For example, instead of "Bitcoin 1", an account could be renamed to "Finder Bitcoin".
Once confirmed, the Trezor Suite dashboard will appear.
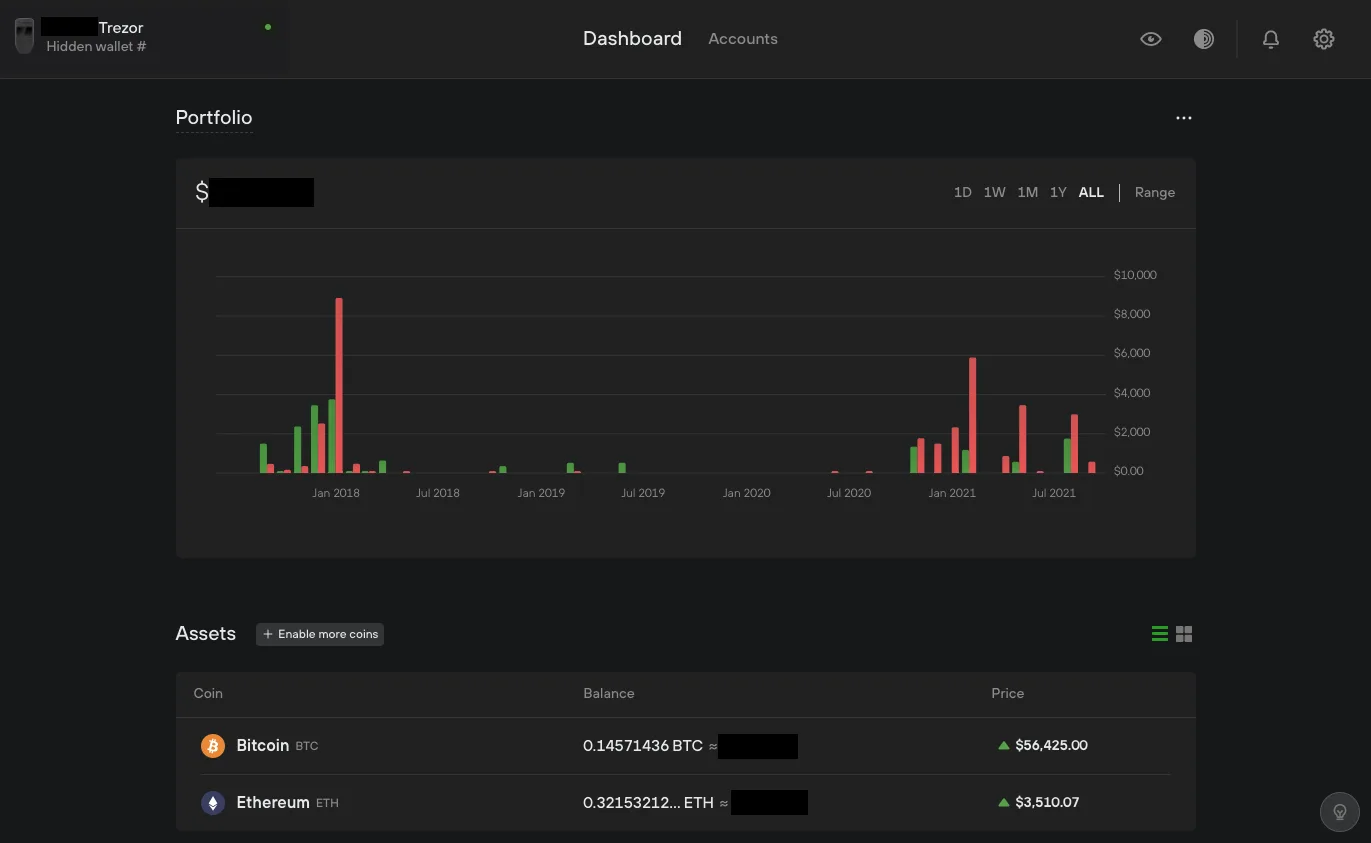
How to send crypto to your Trezor Model T wallet
Next step: receive cryptocurrency! Head over to an exchange to purchase some digital assets. For this example, we'll use the Easy Crypto exchange to buy Bitcoin...
Easy Crypto is a non-custodial platform, so cryptocurrency assets you purchase don't stay on the exchange - you need a wallet, such as the Trezor Model T. During the purchase of Bitcoin, the platform will ask for a cryptocurrency address to send your digital assets to. To find the necessary address, head back over to the Trezor Suite dashboard.
From the dashboard, click on your Bitcoin account and click the "Receive" button. Then click "Show full address". Confirm the address on your Trezor Model T address.
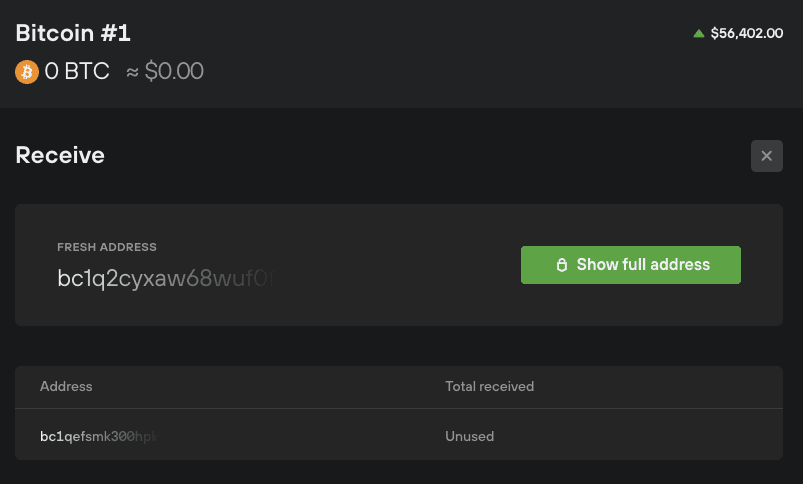
After confirming the address, copy it onto your clipboard. Head back over to the Easy Crypto exchange and paste into the necessary field. After double-checking all details, confirm the purchase.
Once the transaction has been processed by the Bitcoin blockchain, your Bitcoin will appear within your Trezor Suite dashboard – which remains secured thanks to your Trezor Model T device.
Tips to safely send cryptocurrency to a wallet
SPONSORED: Save yourself the heartache of lost funds by learning how to safely send cryptocurrency from one wallet to another with this simple guide.
Read more…Now you're on your way! The Trezor Model T remains one of the safest cryptocurrency wallets you can use. Although intimidating for some, the process for set-up has been greatly simplified thanks to the all-new Trezor Suite management software.
Trade with Easy Crypto
Compare cryptocurrency exchanges here
Disclosure: The author owns a range of cryptocurrencies at the time of writing
Picture: Getty


